

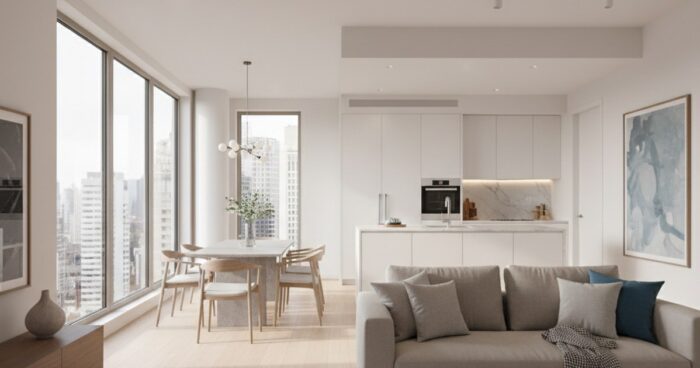
Virtual tour of the apartment: a complete guide for the owner and realtor
Virtual tour of the apartment: a complete guide for the owner and realtor Briefly: A virtual tour of the apartment is a powerful tool for selling or renting real estate, allowing potential buyers to “visit” inside the property remotely. This guide will help owners and realtors understand all the stages of creating such a tour, from preparation to publication, and avoid common mistakes. A virtual tour of an apartment is becoming not just a fashionable trend, but a necessity in the modern real estate market. It allows you to show the property in the best light, eliminate inappropriate views and significantly speed up the transaction process. At 360° Space, we deal with requests from owners and realtors every day, so we have put together a step-by-step guide for you based on our real experience. Step 1: Preparing the subject for shooting This is the most important stage, on which the quality of the final tour depends 80%. Imagine that you are preparing for a photo shoot for a glossy magazine. Everything must be perfect. First of all, do some general cleaning. No dust, dirty windows, or stains on plumbing. The second point is depersonalization. Remove personal items: photographs, toothbrushes, refrigerator magnets, children's toys, clothes, phone chargers. The goal is to create the feeling that this house can be their home and not someone else's. Once, when renting a four-room apartment in the center of Moscow, the owner forgot to remove the cat litter box. I had to pause and wait for it to be removed so as not to ruin the shot. Step 2: Selecting equipment and performer To create a high-quality virtual tour of the apartment, specialized equipment is required: a professional 360 camera or a DSLR camera with a wide-angle lens and a panoramic head. Shooting on your own with a phone or a simple consumer 360 camera often produces results that do not meet expectations - low resolution, distortion, poor color rendition. We advise you to contact professionals. At 360° Space we use only top equipment, and our operators have many years of experience. For example, to photograph objects with a lot of detail, such as an elite apartment with a designer renovation, we use Matterport technology, which allows us to obtain not only panoramas, but also a 3D model of the layout. Step 3: Filming Process The cameraman will film each room from several angles to cover all angles and create a full sense of presence. It is important to provide good lighting. If it is daytime, open the curtains. If it is night or cloudy, we turn on all the lighting in the rooms, even decorative lighting. Professionals typically use additional lighting to balance light and shadow. During filming, ask everyone present to leave the room or stay out of the camera's field of view. We once rented an apartment in Sochi, and the hostess decided to sit in a chair in one of the rooms, thinking that she would not be visible. I had to retake this shot. Step 4: Assembling and processing the tour After filming, the magic of post-production begins. Photos are stitched into seamless panoramas, color balance and exposure are adjusted, and minor defects are eliminated. These panoramas are then combined into a single virtual tour. This is not just “gluing together” pictures, but creating interactive navigation, adding information points (HotSpots) with descriptions, videos, and photo galleries. At this stage, you can add a floor plan, voiceover, and links to additional materials. For example, for commercial real estate, we often add links to presentations or brochures, which is very convenient for investors. Step 5: Placement and demonstration of the tour The finished virtual tour needs to be placed somewhere. At 360° Space we offer several options. You can use our 360° Space cloud, which guarantees high-speed downloads and technical support. This is an ideal option for most clients. If you have your own IT infrastructure, we can deploy the tour on your server. And for special cases, for example, for demonstration at exhibitions or in places with poor Internet, we make a standalone version for PC or a separate assembly for a VR headset that works without a network connection. This provides maximum flexibility in content delivery. Step 6: Integration and Promotion Once your virtual tour is posted, it needs to be integrated into your marketing channels. Place a link to the tour on the ad website (Avito, Cyan, Yandex.Real Estate), on your personal website, on social networks. You can create a QR code to print on flyers or banners. Tell us about the tour in the description of the object, highlight its advantages. “Take a look at our apartment without leaving your home!” – this wording attracts attention. The more channels you use, the more potential buyers or renters will see your property. See all projects → Typical mistakes when creating a virtual tour Poor preparation of the object: Dirt, disorder, personal belongings. This instantly repels and reduces the value of the property in the eyes of a potential client. Low quality of shooting: Blurred panoramas, poor color rendition, obvious stitching. Such a tour will not only not help, but will also harm the image of the object. Lack of interactivity: Just a set of panoramas without convenient navigation or information points. The user gets lost and does not get the full picture. Access problems: The tour takes a long time to load, works with errors, or is not accessible at all. This is critical because the user does not have time to wait. This is why we pay such attention to the quality of hosting and support. Frequently asked questions Q: How long does it take to create a virtual tour? A: The timing depends on the area of the facility and the complexity of the project. Typically, renting a one-room apartment takes 1-2 hours, and processing and assembling a tour takes from 3 to 7 working days. We always try to meet the agreed deadlines, but quality is our priority. Q: Can I add video or music to a virtual tour? A: Yes, of course! We can integrate videos, background music, voice comments, as well as photo galleries and links to external resources. This makes the tour even more informative and attractive. Q: What is the difference between a tour and 360 photos on classified sites? A: A 360 photograph is a static shot of a single point. A virtual tour is a whole system where panoramas are interconnected, there is interactive navigation, information points, the ability to move from room to room, and look at the floor plan. This is a full immersion, not just a picture. Calculate costProject catalogMatterport